
We all remember that sixth-grade science experiment where we shook a freezing cold Ziploc bag filled with ice, salt, and milk, hoping it would magically churn out ice cream—and most of the time, we ended up with a pile of mush. I decided to give this method another try with slightly different ingredients and spiced it up with toppings in hopes of producing a better-quality homemade ice cream perfect for summer.
Ingredients
- 1 cup half-and-half
- 1 cup heavy whipping cream
- 1 teaspoon vanilla extract
- 4 tablespoons sugar
- 3 cups ice
- 1/3 cup salt
- Optional: desired toppings (e.g. chocolate chips)
Recipe (modified from Delish’s “Ice Cream In A Bag” recipe)
- In a small, resealable plastic bag, mix half-and-half, heavy whipping cream, vanilla extract, and sugar. Remove excess air and seal. Make sure the bag is high quality, or you’ll end up with leaks and milk dripping all over your table like I did.
- In a large resealable plastic bag, combine ice and salt. Salt will lower the freezing point of the ice so it stays cold as you shake the bag.
- Place the small bag in the large bag. Shake vigorously for 5 minutes until the ice cream starts to harden. I recommend wearing gloves or switching back and forth with someone to protect your hands from the cold.
- Optional: Open the bags and add desired toppings to the ice cream. I added pieces of chocolate chip cookies.
- Reseal both bags and keep shaking until the ice cream has hardened. You should have enough ice cream to serve two or three people.
Note: If the ice cream doesn’t form, put the bag in the freezer for at least 30 minutes to cool the ingredients and resume shaking the bag afterward.
Review
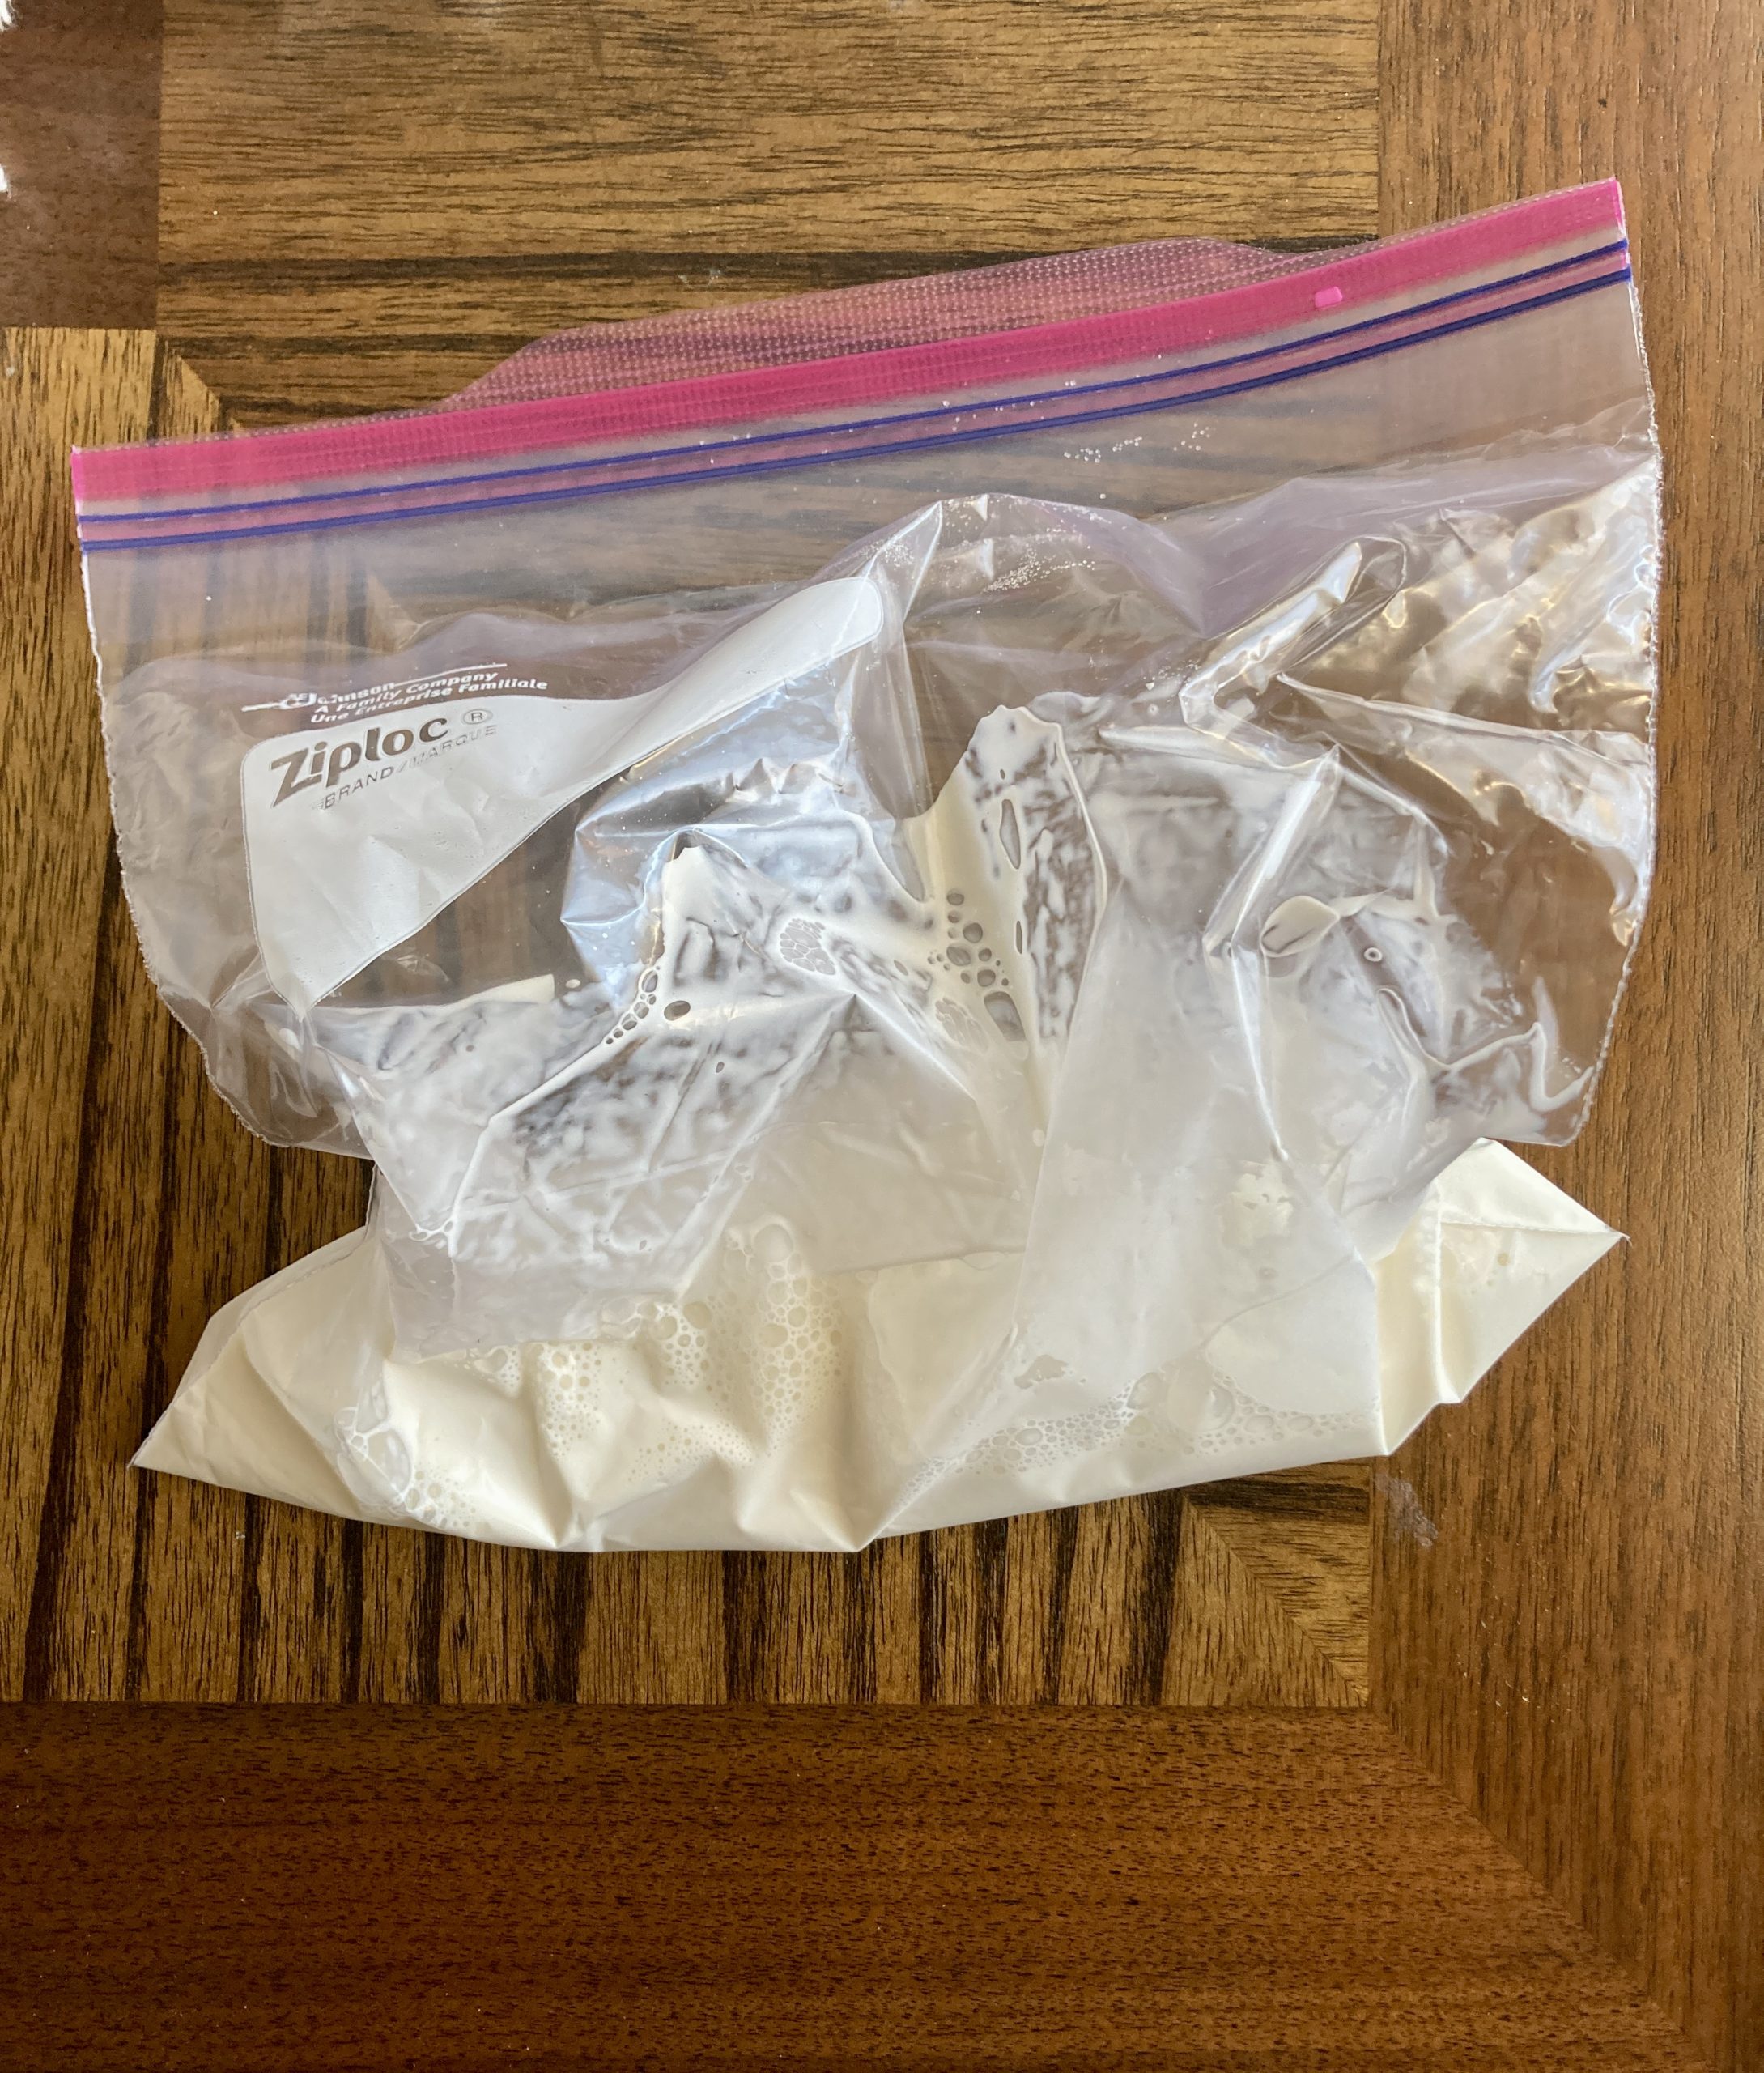
The process of shaking the ice cream itself was laborious and painful because of the cold, even after taking turns with my sister, and it took much longer than expected for the ice cream to firm up. Even after about 20 minutes of shaking, the ice cream looked and tasted like foamy, flavored milk. I ended up putting the mixture in the freezer overnight, and it was completely frozen in the morning but still had a better texture than the night before.
Once I allowed the ice cream to thaw, it was much more creamy and smooth than store-bought ice cream. However, the cookie pieces that I added dissolved in the ice cream, so I’d recommend adding bigger toppings with more texture to cut through the otherwise silky texture of the ice cream. Also, get creative with the toppings! Customizing them instead of buying pre-made flavors from a store is one of the biggest advantages of making ice cream yourself. I love Honey Bunches of Oats cereal, so that’s next on my toppings-to-try list.
I had hoped that adding heavy whipping cream instead of just half-and-half, which is typically what the school science experiments call for, would improve the consistency of the ice cream. However, it didn’t make a noticeable difference, so I recommend saving your money and just using half-and-half.
If you’re looking for a fun recipe to try this summer to make with ingredients already at home, get shaking! Your ice cream may not completely solidify, especially in warm weather, but the flavor makes up for it.